At least from what I can tell they are only here on Facebook.
Of course, they are not the first to post recipe videos.
I feel like I age myself when I use the word "video."
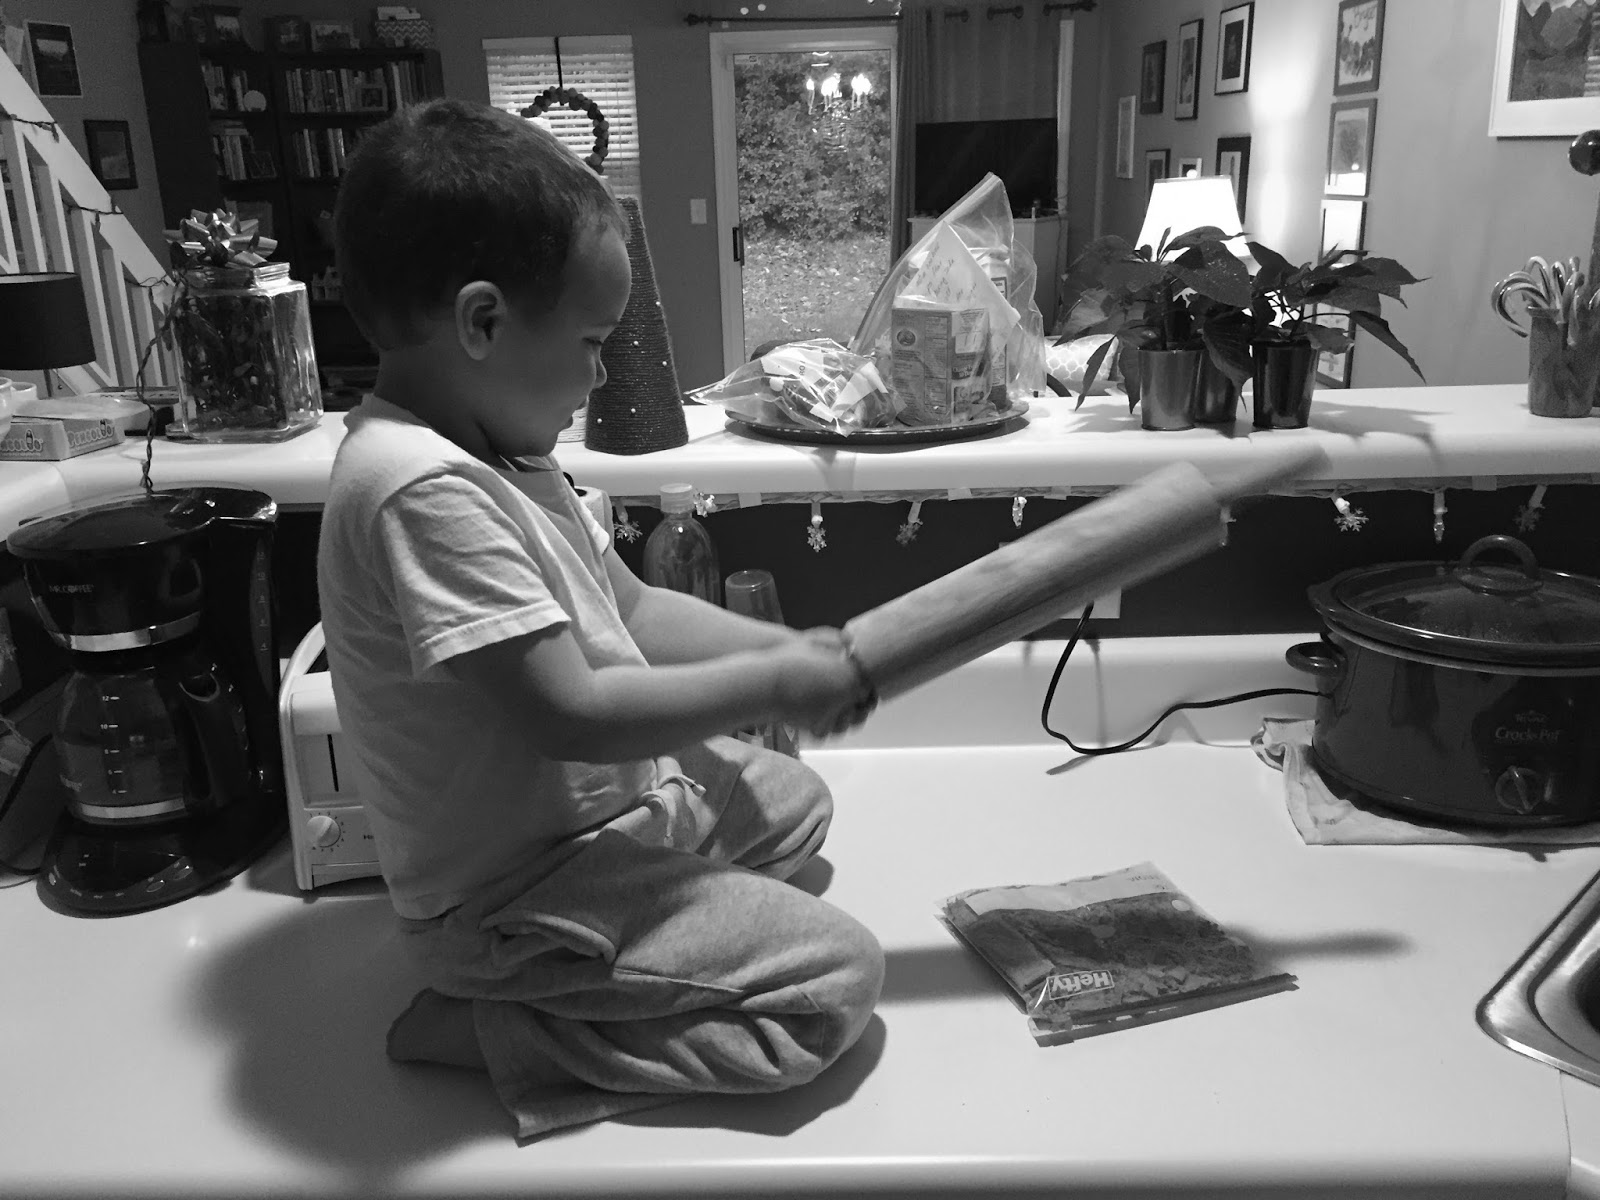
Yes, they make ALL recipes look delicious and so simple a 4-year-old could do it. So let's let a four year old do it!!
Part One: Chocolate Covered Vanilla Ice Cream with Rice Krispies Bite Size Poppers by Tasty
Here is a link to the video! Not sure if you can see it or not if you are not signed up for Facebook.
You will need:
parchment paper
a pan, the lower and longer the better
vanilla ice cream - or whatever flavor you prefer. We used French Vanilla
2 cups chocolate chips
1/2 cup coconut oil (Trader Joe's has coconut oil for a good price).
1/3 cup Rice Krispy cereal
What to do:
Spread out softened ice cream on a wax paper lined baking tray. Cover with wax paper and press down to evenly spread and smooth. Freeze overnight.
Remove ice cream from tray, peel off the wax paper and cut into bite size squares. Return to the freezer until ready to dip. Here is where we started to have trouble. The ice cream was soft, even directly out of freezer. This made cutting the squares easy, but separating them really messy:

 |
| Bwahahahahaha |
Meanwhile, microwave 2 Cups of Chocolate Chips with 1/2 Cup Coconut oil for 90 seconds - stopping to stir every 30 - until melted and smooth. Allow chocolate mixture to come to room temperature. Mix in rice cereal.


That was the easiest part.
Working quickly and in small batches - coat ice cream cubes in chocolate mixture and return to the freezer to harden up.
RIght. So here is what they end up looking like on the Tasty page:

And here is what our's looked liked:

Nailed it! Here is what our problems were:
1. we do not have enough freezer space
2. our freezer is not cold enough to keep things solidly hard so getting a hold of a nicely shaped bite of ice cream was really hard. And messy.
Finally Brycen asked if he could just pour the chocolate mix over the ice cream while my mom tried to make space in freezer. At that point it couldn't have gotten any messier so I let him.
Verdict: They taste amazing. But I think the coconut oil went straight to my arteries. I will write this one up in Brycen's recipe book because it was a fun adventure, but I will not try it again!
Part Two: Blueberry Croissant Breakfast Bake by Tasty
Here is what their end product looked like:

And here is what our's looked like in end:

I know!!
You will need:
1 Tube Crescent Dough
¾ cup Blueberries - we used fresh ones. Well, as fresh as they get mid January. I think next time I will use more too. Maybe a 1.5 cups
8 oz. Cream Cheese
2/3 cup Sugar
2 Eggs
1 tsp. Vanilla
¼ cup milk
What to do:
1. Preheat oven to 350°F
2. In a mixing bowl beat cream cheese, sugar, and vanilla until creamy.
3. Add eggs, and while beating slowly incorporate the milk until creamy. Set aside.
¾ cup Blueberries - we used fresh ones. Well, as fresh as they get mid January. I think next time I will use more too. Maybe a 1.5 cups
8 oz. Cream Cheese
2/3 cup Sugar
2 Eggs
1 tsp. Vanilla
¼ cup milk
What to do:
1. Preheat oven to 350°F
2. In a mixing bowl beat cream cheese, sugar, and vanilla until creamy.
3. Add eggs, and while beating slowly incorporate the milk until creamy. Set aside.

4. Using cold crescent dough, roll up crescent rolls and curve into crescent shape.

5. Place rolls in an ungreased 9x9 pan.
6. Pour blueberries over the crescent rolls.
6. Pour blueberries over the crescent rolls.


7. Pour cream cheese mixture over rolls and blueberries.


8. Bake at 350°F/175°C for 35 minutes or until rolls have become golden brown.

This was a great recipe, one we will definitely do again. There was A LOT that Brycen could help with. It was best heated up with Cool Whip. More of a dessert than a breakfast.
Enjoy!